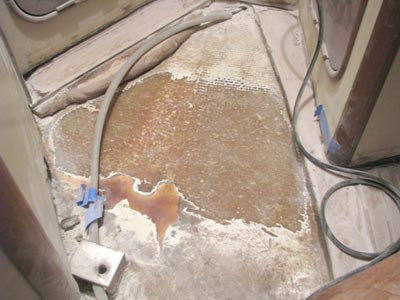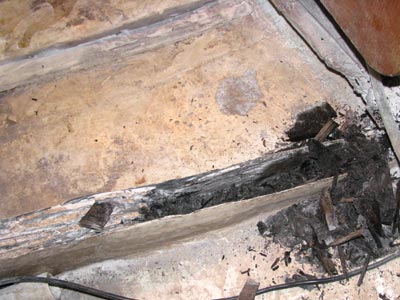
You see that pile of black stuff between the fiberglass holding the stringer in place? That ain't plywood anymore - that's mulch. Great stuff if you want to grow a garden, I suppose, but it wouldn't hold a screw or the cabin sole down to save its soul.
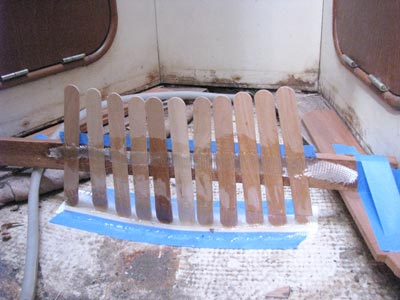
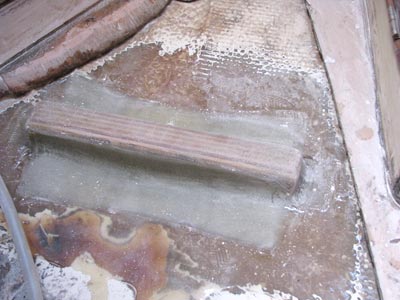
I now officially have two stringers replaced and I'm working on the third. I hope to have the fourth and final one in the v-berth area cut and fiberglassed in by Wednesday of this week. I want to cut the 3/4 plywood for the sole in the v-berth and have it done sometime this weekend. I'm sick of looking at bare stringers. I'm sick of walking on (tripping over) bare stringers. I want to see a nice, clean, sold-looking floor. I've made a lot of progress this week, but seeing the substrate in place will give me a solid sense of accomplishment.
One thing I've discovered about epoxy vs. polyester resin is that the epoxy takes forever to cure unless its like 70 degrees outside. Working with the epoxy is nice because you have a lot longer working time than you do with polyester. Anytime I've used polyester resin it starts to gel and get hard in just a few minutes. The other thing I like about using West System Epoxy (which isn't the outrageous price) is the ease of mixing the stuff if you use their plastic pumps.
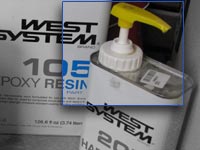 Those pumps are worth every penny of the $12 bucks they ask for them. Beats the hell out of trying to measure two parts in the correct ratio by hand. Still, the work would go a lot faster if the epoxy didn't take so long to cure. If not for that I would be done with all the stringers already. You have to cut the stringers, laminate them together and then wait. Then you get to sand them, seal them with epoxy and then wait. Then you get to set them in place with thickened epoxy and then wait. Then you get to fiberglass the stringers to the hull and then (you guessed it) ...wait. I try to keep two projects going at the same time so I can be busy with something else while the epoxy is curing, but it's not always practical. Sometimes I just have to walk off and do something else.
 Considering the cost and time involved, if it isn't of structural importance, you can bet I'll be using polyester resin when I can, but I don't trust it for structural elements like stringers. It may take longer and cost more, but I want them to still be there 10 years from now.
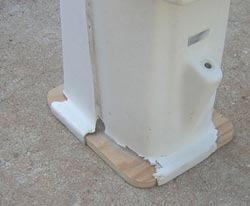
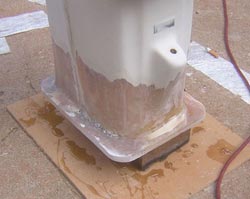
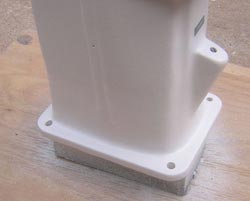
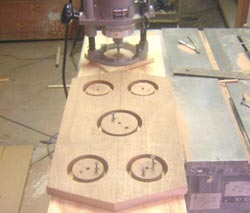
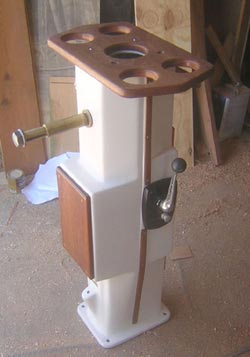
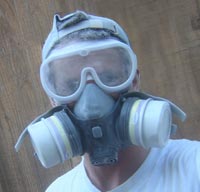
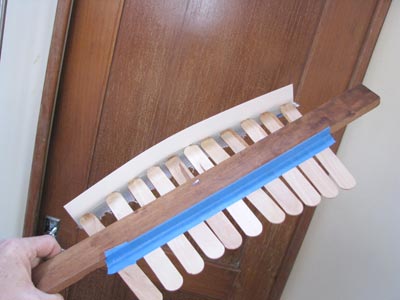
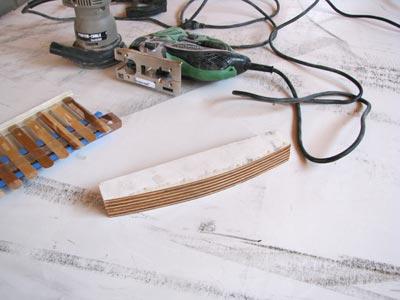
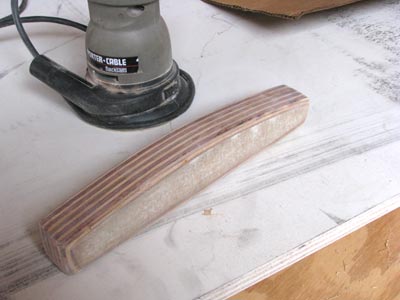
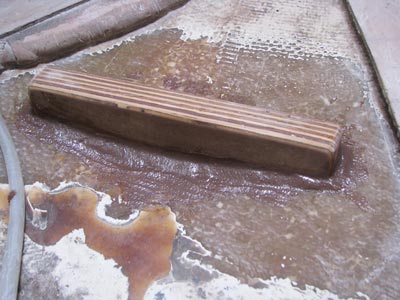
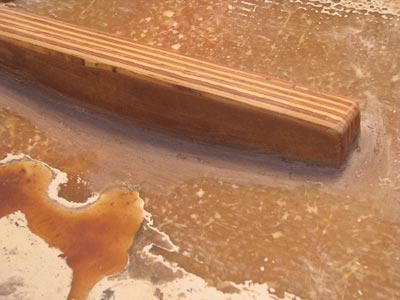
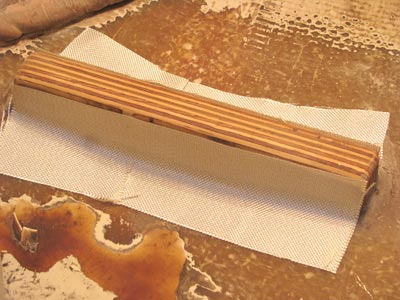
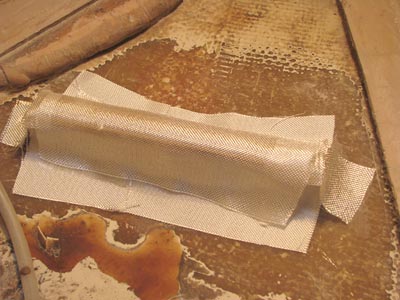
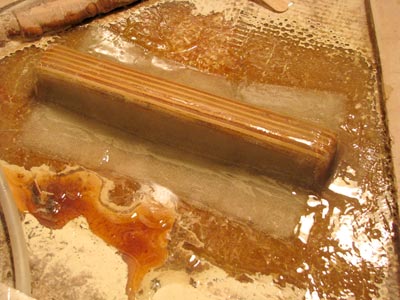
And speaking of keeping two projects going at once, below are some pictures of other repairs and projects I've been up to.