The whole cabin sole needs to be replaced, but before I could even think about doing that, I have to replace the rotten stringers. Though I've worked with fiberglass a lot in the past, and I don't question for a second my ability to work with wood, I've never put the two together to tackled this kind of project. I read everything on the internet I could find about replacing stringers in a sailboat, but at some point you have to stop reading and thinking, and just start doing and see what happens. Well, this is what happened.
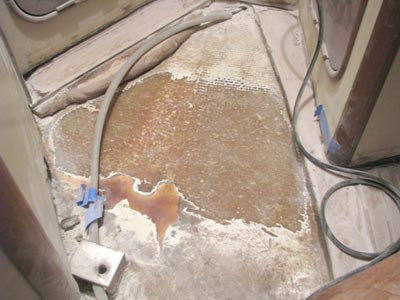
1. First I ground out the old stringer and sanded everything to the bare fiberglass.
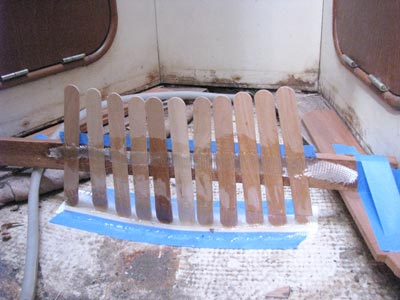
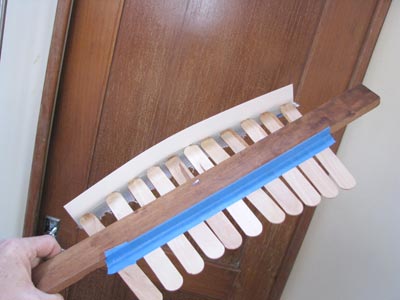
2. I used large popsicle sticks and some poster board to create a pattern for the new stringer.
3. I used the newly created pattern to cut a dummy stringer out of cheap 1/4 plywood, then, after ensuring it fit, I used to 1/4 plywood pattern to cut two stringer pieces out of 3/4" MDO plywood. I used West System 105 epoxy and 205 hardener to laminate the two pieces of MDO into one 1.5" stringer.
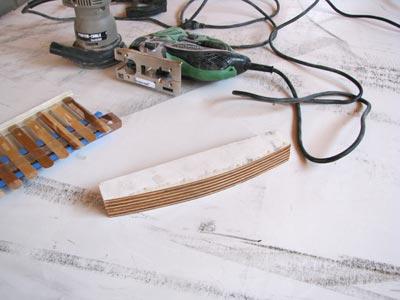
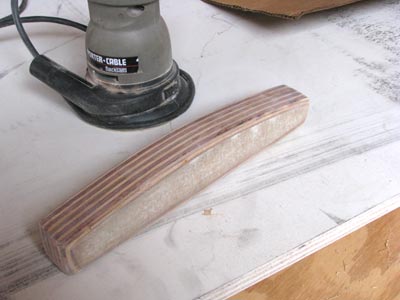
4. I rounded off the edges of the stringer, sanded it, then sealed it on 6 sides with a coat of epoxy and then sanded that.
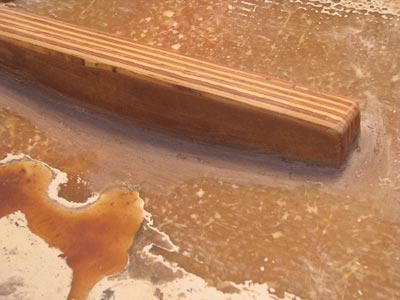
5. I mixed some epoxy and thickened it with 405 Filleting Blend and used that to set the stringer in place and filleted the edges.
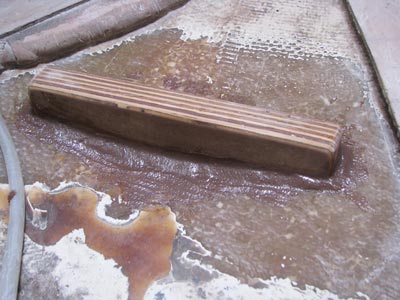
6. After the thickened epoxy set, I sanded that smooth with 100 grit sandpaper.
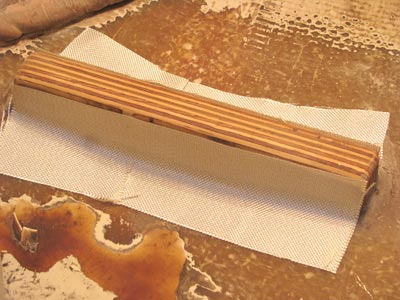
7. I precut all the pieces of fiberglass cloth I felt I was going to need. I cut 4 pieces of 12 oz. cloth for each side (8 in total) and 4 pieces of 6 oz. cloth to wrap over the top of the stringer.
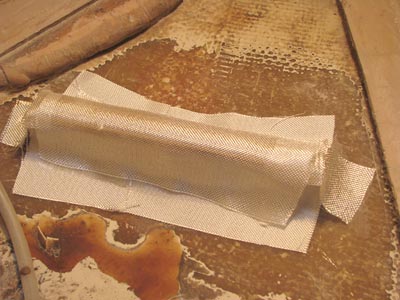
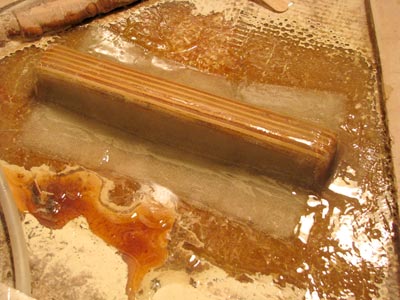
8. I covered the stringer in epoxy then laid down two pieces of the 12 cloth on the sides, saturated that, then laid a piece of the 6 oz. cloth over the top (overlapping the 12 oz. cloth all the way to the bottom), and then repeated that operation 4 times. By my understanding that means the sides are covered in 4 layers of 12 oz. cloth and 4 layers of 6 oz. cloth.
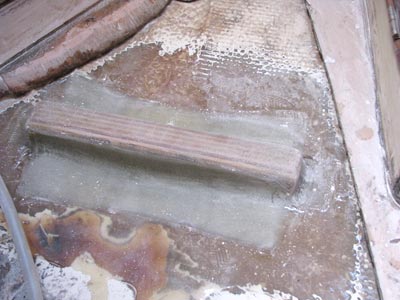
9. Once everything set up, I sanded everything the next day.

No comments:
Post a Comment